Prime Your Body For Results with This Short Stationary Dynamic Warm Up

Prime Your Body For Results with This Short Stationary Dynamic Warm Up

Are you doing a dynamic warm up before your workout routine? If you’re not, you could be leaving performance benefits on the table and potentially putting yourself at risk for injury. I know it may not always be practical to spend 15 minutes going through a dynamic warm up, but it is important that you elevate your heart rate, take your body through full range of motion, and activation your muscles before doing any workout routine.

5 benefits of a dynamic warm up

  1. Increase core body temperature
  2. Increase blood flow
  3. Lubricate joints
  4. Enhance joint mobility/flexibility
  5. Muscle activation

If you’re short on time and have limited space, this is the perfect warm up routine for you. Perform this  short stationary dynamic warm up prior to your workout to prime your body for max results!

Exercises

Jumping Jacks (30 reps)


Split Jacks (30 reps)


Cross Jacks (30 reps)


Knee Hug w/ Ankle Circle (6 reps each)


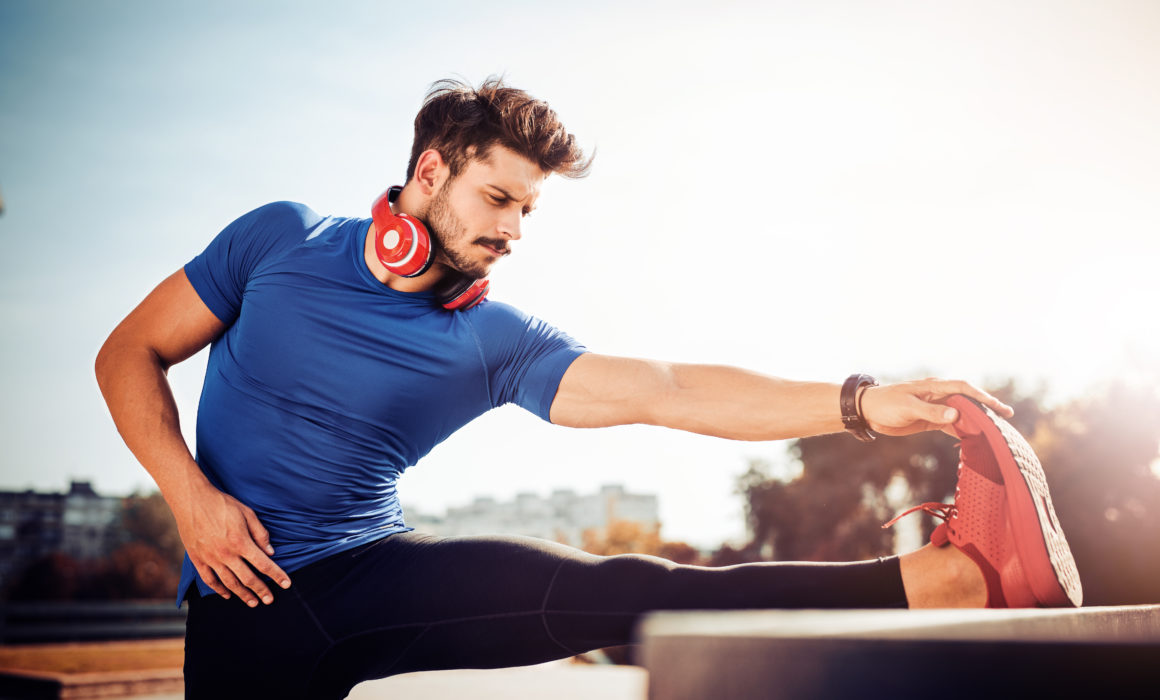
Quad Stretch w/ Forward Lean (6 reps each)


Inverted Toe Reach (6 reps each)


T-Spine Lunge w/ Rotation (6 reps each)


Infant Squats (8 reps)


How to Do a Turkish Get-Up

How to Do a Turkish Get-Up

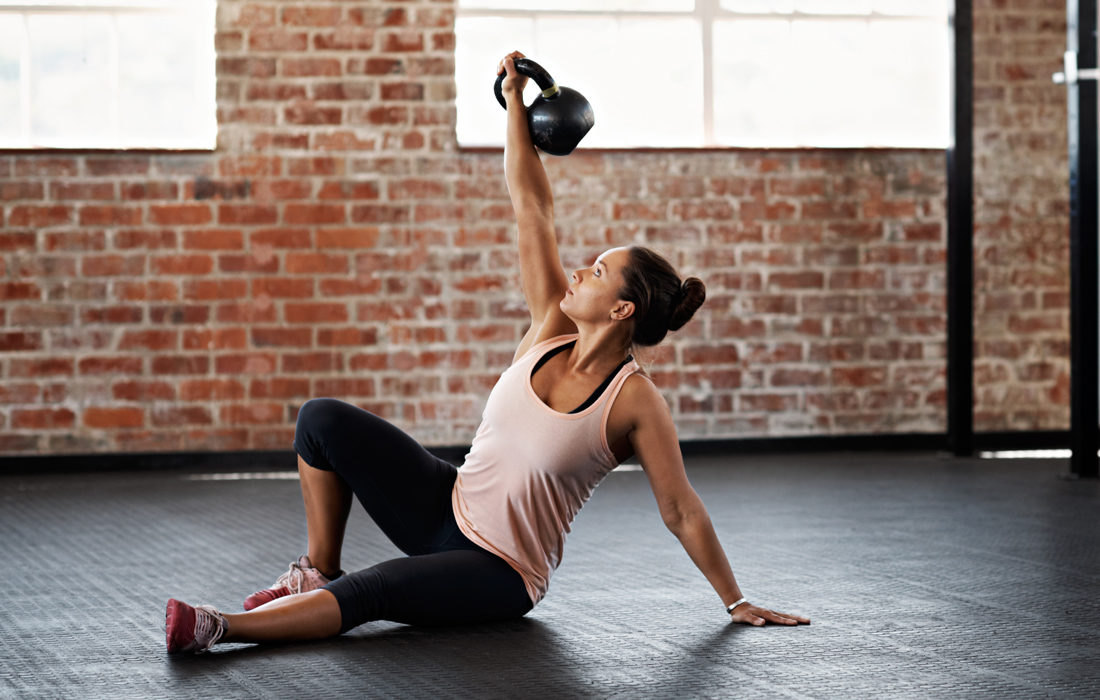
The Turkish Get-Up is an exercise that dates back to ancient wrestlers in what is now Turkey to prepare themselves for competitions. This is a great ancient exercise with present day benefits. The Turkish Get-Up is a total body exercise that increases strength, stability, mobility, balance and coordination. It can be used in a warm-up, as an assessment of overall strength and mobility, and within a strength-training program. The Get-Up is generally performed with a kettlebell, but can also be used with a dumbbell. The Get-Up is a complex movement that requires coordination in order to execute properly, but the benefits of this exercise are well worth it.

Here are a few benefits of the Turkish Get-Up

  • Single leg hip stability during the initial roll to press and during the bridge
  • Shoulder stability
  • Incorporates all three planes of movement
  • Thoracic extension and rotation
  • Hip and leg mobility and active flexibility
  • Stability in two different leg patterns – lunge stance as well as squat stance
  • Both rotary and linear stability
  • Ankle mobility
  • The ability to link movement created in our extremities to the rest of our body

Step-by-step guide on how to properly execute the Turkish Get-Up

  1. Starting position – Lie on your back with kettlebell or dumbbell in your right hand – straight up in the air. Right knee will be bent with foot planted firmly on the ground and the left leg is straight on the ground. Left arm is straight on the ground, at a 45 degree angle.
  2. Elbow – With your right foot being firmly on the ground, roll onto your left elbow, with weight still above head.
  3. Hand – Once you have shifted weight to the elbow, continue rolling up until your weight is supported in your left hand. You should have 3 support points – left hand, left glute, and right foot.
  4. Bridge – Lift your hips off the ground keeping your right arm extended straight overhead, and your weight in your left hand. Keep looking up at the weight and keep it overhead.  You should have 2 support points – left hand and right foot.
  5. Leg Swing – With hips still lifted in the bridge, swing your left leg under your body, and place your knee on the ground underneath you.
  6. Kneel – Take your left hand off of the floor and straighten up so your body is upright. Turn your legs so that they are parallel to each other.
  7. Stand up – Drive your back foot through your hips and into your front foot, stand up from the lunge – keeping the weight straight overhead and look at the weight.
  8. Reverse Lunge – Keep the weight overhead, and step your left foot back in a reverse lunge, lowering your knee to the ground – with legs parallel.
  9. Lowering Hand – Swinging hips, lower left hand down to the ground.
  10. Swing leg – Now that your hand is on the ground, swing your left leg back to the front of you – with your weight in your left heel, left hand, and right foot.
  11. Elbow – Lower your weight back to your elbow – with contact points being your left elbow, left butt cheek and right foot.
  12. Finish – Lower your torso down to the ground and end in the beginning position.

The Turkish Get-Up can be modified for beginners and people dealing with injuries. Possible modifications would be to lighten the weight, no weight, Stage 1 Get-Up, or Stage 2 Get-Up.

Stage 1 Get-Up


Stage 2 Get-Up


Advance Your Core Training with The Sling System

Advance Your Core Training
with The Sling System

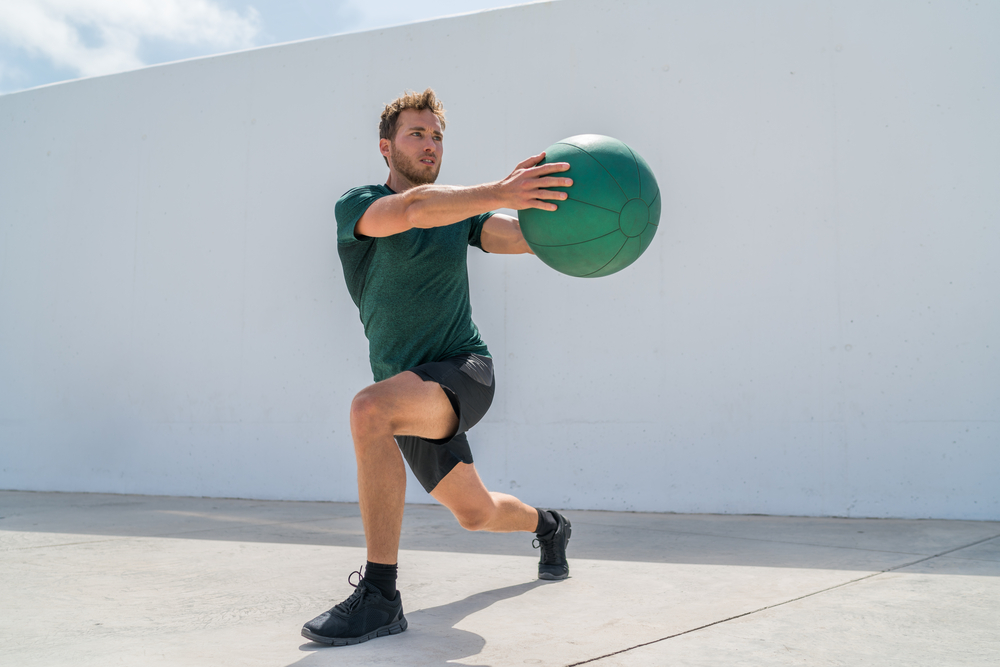
The core is the foundation of your body. It links everything together and provides stability for athletic skills. So simply doing a few Sit-Ups or even Planks won’t cut it when developing an athletic core. The key is developing what is called the sling system. The sling is a group of contralateral (opposite) muscle groups that work in a diagonal fashion and that lie on the anterior (front) and posterior (back) portion of the trunk. The sling can be broken down into the posterior and anterior oblique slings. The primary function of the sling is to stabilize the pelvis and spine during movement, which enhances performance in all sports from track and field, football, baseball, golf and volleyball.

Anterior Oblique System

The anterior oblique sling system includes the external and internal oblique, opposing leg adductors complex, and hip external rotators. The oblique plays a key role in mobilizing and stabilizing gait. It functions by pulling the leg through during the swing phase. Athletic movements involve many moving parts. The anterior sling system helps stabilize the pelvis and spine during acceleration, deceleration and multi-directional movements. The anterior oblique system contributes to rotational forces and hip flexion and stabilizes the lumbo-pelvic-hip complex.

Here’s how to train it:

Posterior Oblique System

This system includes the gluteus maximus, latissimus dorsi and thoracolumbar fascia. The glute max and lat attach to the thoracolumbar fascia, which connects to the sacrum. Their fibers run perpendicular to the hip joint so when the opposite glute max and lat contract, the tension built up stabilizes that hip joint, enhancing energy transfer.

The posterior oblique subsystem contributes to propulsion when we walk, run or sprint. It is also a key contributor to rotational forces such as swinging a golf club or baseball bat, or throwing a ball. If there is any dysfunction in the posterior oblique subsystem, the hip joint will become unstable, leading to back pain. Someone with weak glutes and/or lats will most likely have a motor unit recruitment dysfunction leading to increased tension in the hamstrings and will be at a higher risk of recurring hamstring strains.

Here’s how to train it:

Take your core training to the next level by incorporating these exercises to optimize performance!


Unilateral vs Bilateral Lower Body Training

Unilateral vs. Bilateral Lower Body Training

The unilateral versus bilateral training debate is just about as controversial as what comes first, the chicken or the egg? If you were to ask personal trainers, fitness coaches, or performance specialists which is better, you would get mixed responses. To make things easier for you I am going to break down the differences between unilateral and bilateral lower body training.  The best one for you depends on where you are on your fitness journey or performance goals.

Unilateral Training

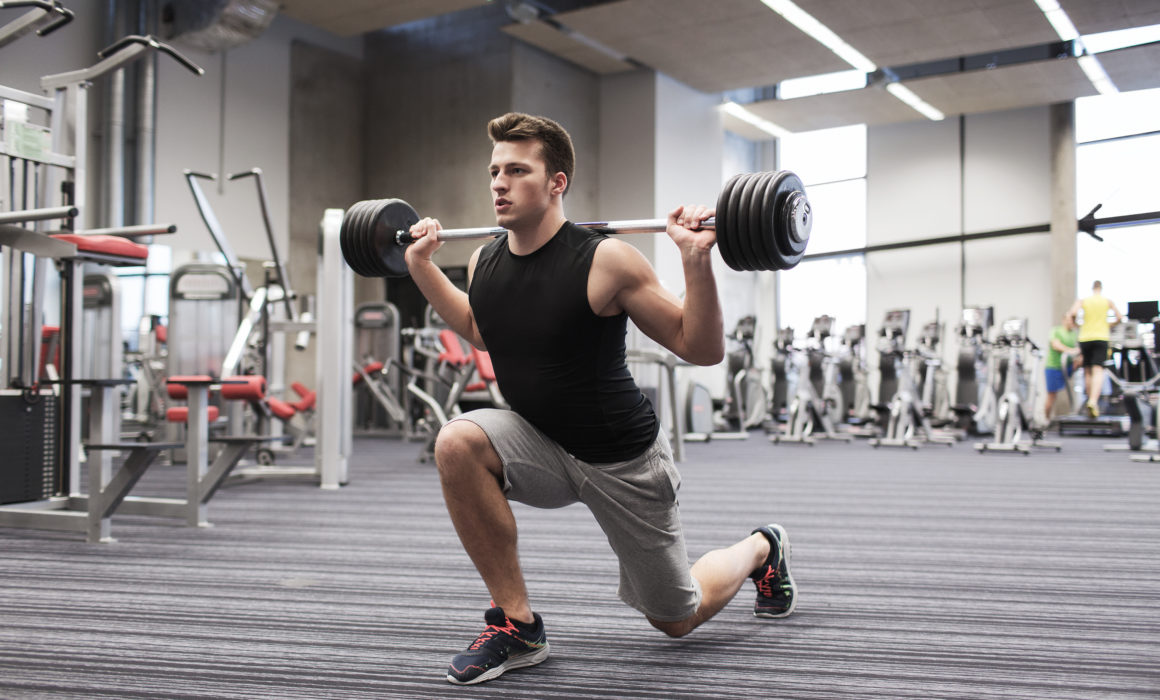
Unilateral training involves asymmetrical exercises that only use one side of your body at a time. A unilateral lower body movement involves the use of one leg. There are varying intensities when it comes to unilateral lower body training depending on whether the exercises are done with free weights or machines. Here are examples of unilateral lower body exercises:

Bilateral Training

Bilateral lower body training involves the use of both legs symmetrically. Bilateral lower body exercises are the staples of most strength programs. Here are examples of bilateral lower body exercises.

Benefits of Unilateral Training

Unilateral lower body training is great for improving muscle imbalance, kinesthetic awareness, and stability. The asymmetrical nature of these exercises cause your body to stabilize joints and core muscles to maintain balance while executing the movement. If you have had an injury or dysfunction in your lower extremities, unilateral training will help isolate those weak points, and the appropriate exercise can help strengthen to restore full health and function. Unilateral training puts more isolated stress on the single limb being worked. This allows people to put stress on their limbs without overloading with weight, which can increase risk for injury.

Benefits of Bilateral Training

There are many benefits of bilateral lower body training. These include greater muscle recruitment, strength gains, central nervous system (CNS) adaptation, hormone response, greater metabolic effect, and requires less coordination. When performing bilateral lower body exercises, balance and stability are less of a factor compared to unilateral training. This gives you the ability to lift more weight. If your goal is to increase strength, muscle mass, power, or speed, bilateral training will help you make the necessary gains to reach your goal.

How to Implement Unilateral and Bilateral Training into your Workouts

Both bilateral and unilateral lower body training exercises are beneficial whether you are looking to improve your fitness or performance for sports. The most important thing to consider when selecting bilateral or unilateral lower body exercises is what is your number one goal? Do you want to maximize your strength? Do you want to improve your balance, core strength, or stability? Are you recovering from an injury and looking to strengthen an isolated joint or muscle group? Answering these questions before making exercise selections will help you map a plan of action before putting together an exercise routine.

My recommendation is to combine both bilateral and unilateral training in the same training session. After completing a thorough warm up, start with a compound bilateral exercise such as a squat or deadlift. It is important to do these exercises while mentally and physically fresh because they are more taxing than unilateral exercises. After completing one to two compound bilateral exercises, add in one to two unilateral exercises. Another option to consider is switching back and forth between hip dominant exercises (deadlift, hip thrust, etc.) and knee dominant exercises (squats, step ups, etc.).

Below is an example of a combined bilateral and unilateral lower body training routine.


Example 1

Bilateral

Back Squat 3×8-12
Unilateral

Single Leg Romanian Deadlift

3×8-12
Unilateral

Dumbbell Lunge

3×8-12
Bilateral Stability Ball Hamstring Curl

3×8-12


Example 2

Bilateral

Deadlift 4×5

Unilateral

Bulgarian Split Squat 3×6
Bilateral Nordic Leg Curl

3×8

Unilateral Single Leg Hip Thrust

3×8


Privacy Settings
We use cookies to enhance your experience while using our website. If you are using our Services via a browser you can restrict, block or remove cookies through your web browser settings. We also use content and scripts from third parties that may use tracking technologies. You can selectively provide your consent below to allow such third party embeds. For complete information about the cookies we use, data we collect and how we process them, please check our Privacy Policy
Youtube
Consent to display content from - Youtube
Vimeo
Consent to display content from - Vimeo
Google Maps
Consent to display content from - Google
Black Friday Sales Are Live! Save Now -Click Here To Learn More